
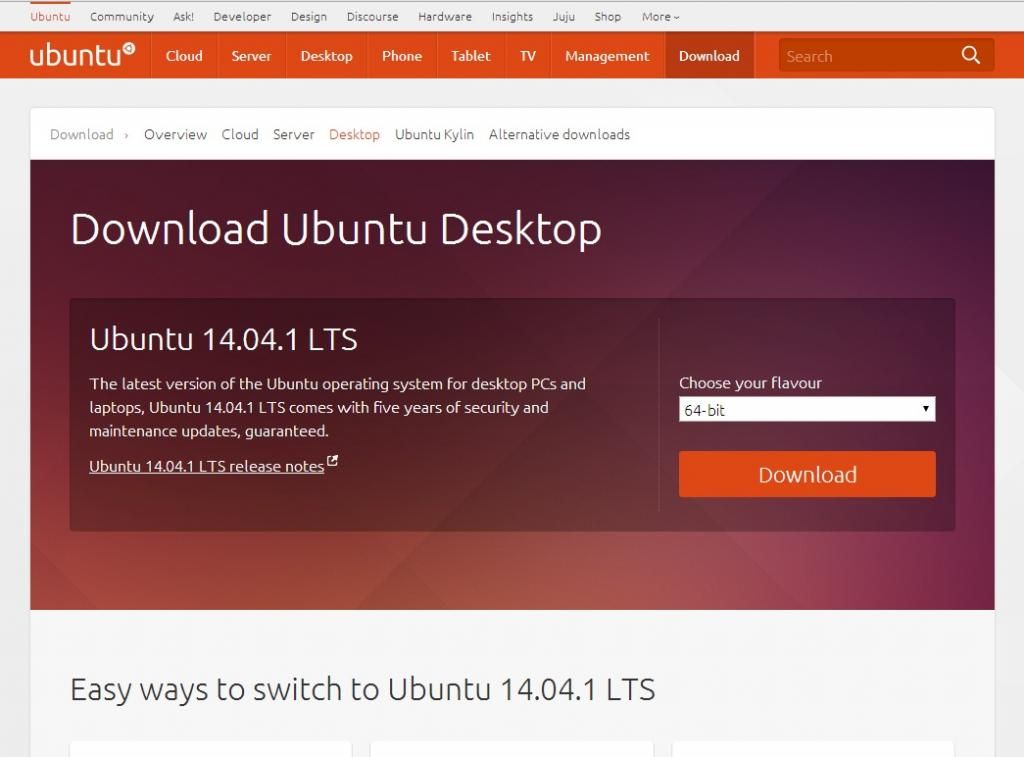
Want to try Ubuntu on your PC or
laptop, just download the Desktop Edition from the Ubuntu website. Click the
Download link in the menu at the top, then click the Download and install
button. Use the drop-down menus to select the version you want.
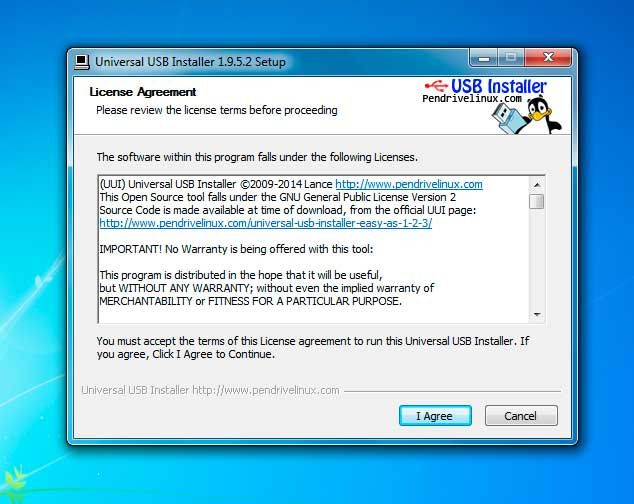
How to install Ubuntu using a USB flash drive.
We suggest using a 4GB USB flash drive and downloading the
Universal USB Installer utility to install Ubuntu. Run the utility (it runs
directly in Windows from the executable file you downloaded) and make sure you
select the suitable version of Ubuntu from the listing. After that, direct the
utility to the location of the ISO file on your hard disk and, at last, choose
the right drive on which to install it.
Ensure that you've backed up the files on the flash drive,
as it will wipe out them. Likewise, back up the files on the computer onto
which you're installing Ubuntu, even if you are planning to install it as a
secondary OS.
You can insert USB drive into a free port on the computer
which will run Ubuntu, after all the files have been written to the USB drive.
If the computer doesn't boot from the flash drive, you'll need to modify the
order of the boot devices in the BIOS. You can enter the Bios by pressing Del,
F1 or another key that's shown on the screen at boot time.
Follow the on-screen directions when Ubuntu loads - it will sense
if another operating system is there and provide options about how to install
Ubuntu. If you want to throw away Windows and make Ubuntu the only operating
system, we advise selecting the 'Something Else' option and deleting the
Windows partition on your hard disk. You'll also need a 'swap' area, which
should be double the capacity of your computer's memory.
If you're common to partitioning Windows disks, it's a
little confusing when doing the same in Linux. As a substitute of referring to
drive letters, you'll see disks and drives shown as hda or sdb, etc. Hda refers
to the first IDE disk - the second would be hdb. Modern hard disks which
connect via SATA or even USB are called sda, sdb, sdc, etc. Each primary
partition is numbered 1 to 4 and each logical partition from 5 upwards. Confirm
you're certain of which disk and partition you're trading with before performing
the changes. Partitioning take place only when you click the install button.
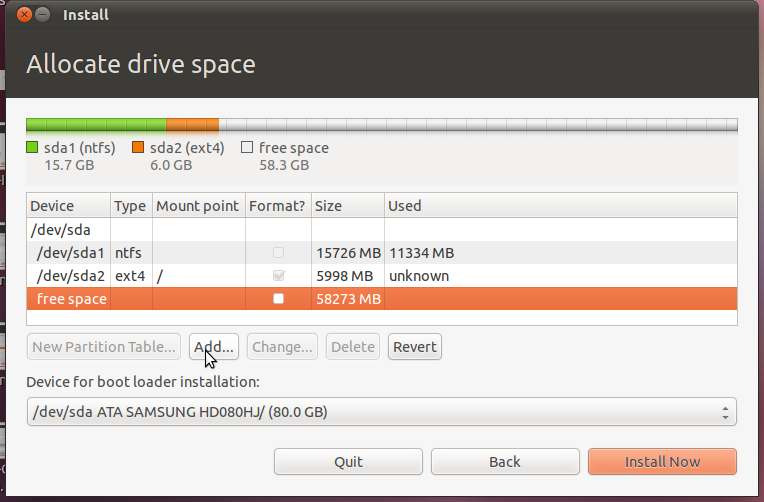
The partitions you require for Ubuntu are: root, home and
swap. Root is where Ubuntu is installed, and should be at least 4GB. Select
ext4 as the file system and / as the mount point. The home partition is where
your files are kept, and should be sufficient enough to have a room for
everything you plan to store. For a second time, select ext4 as the type, and
/home as the mount point. The swap partition should be twice the capacity of
your computer's memory, so if it's 2GB, then create a 4GB swap partition. Choose
swap as the type - there's no mount point.
At the time of installation, you'll be prompt for a few
details together with your location, language, username and password. It's suitable
to have your computer connected to a network, and you'll be asked to choose a
Wi-Fi network if no Ethernet cable is connected. This makes sure the latest
updates are installed.
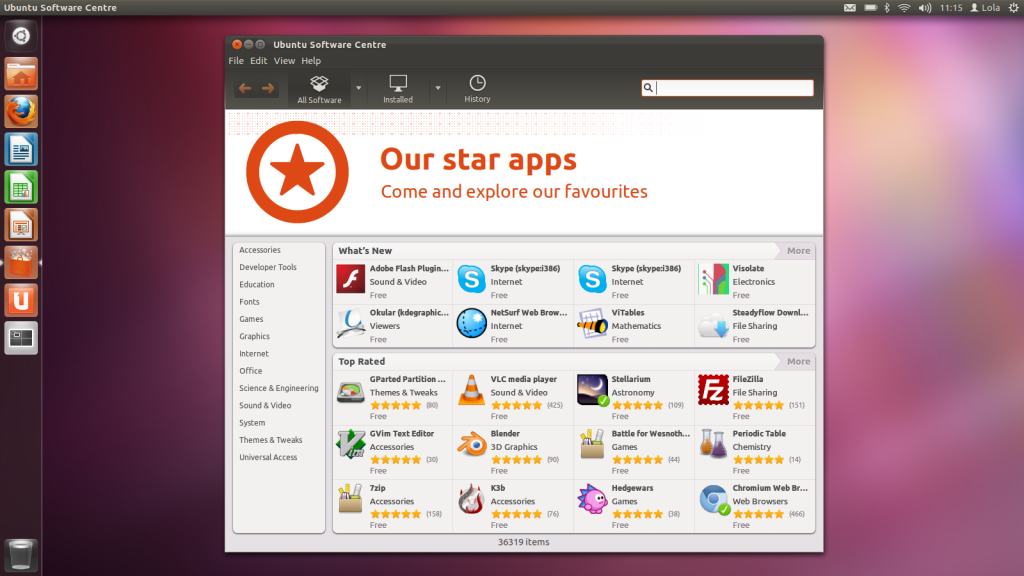
Once installation is done, remove the flash drive and press
Enter. Your PC will restart and launch Ubuntu. Go to the Software Centre (the
shopping bag icon at the bottom of the dock) and you can install your favourite
applications including Chromium (the Ubuntu’s answer to Google Chrome), Skype,
Dropbox and others.


0 comments:
Post a Comment